Qualify: How to extend the mystery shop assignment

The Mystery Shop Assignment module allows administrators to schedule and manage mystery evaluations for different service areas or departments.


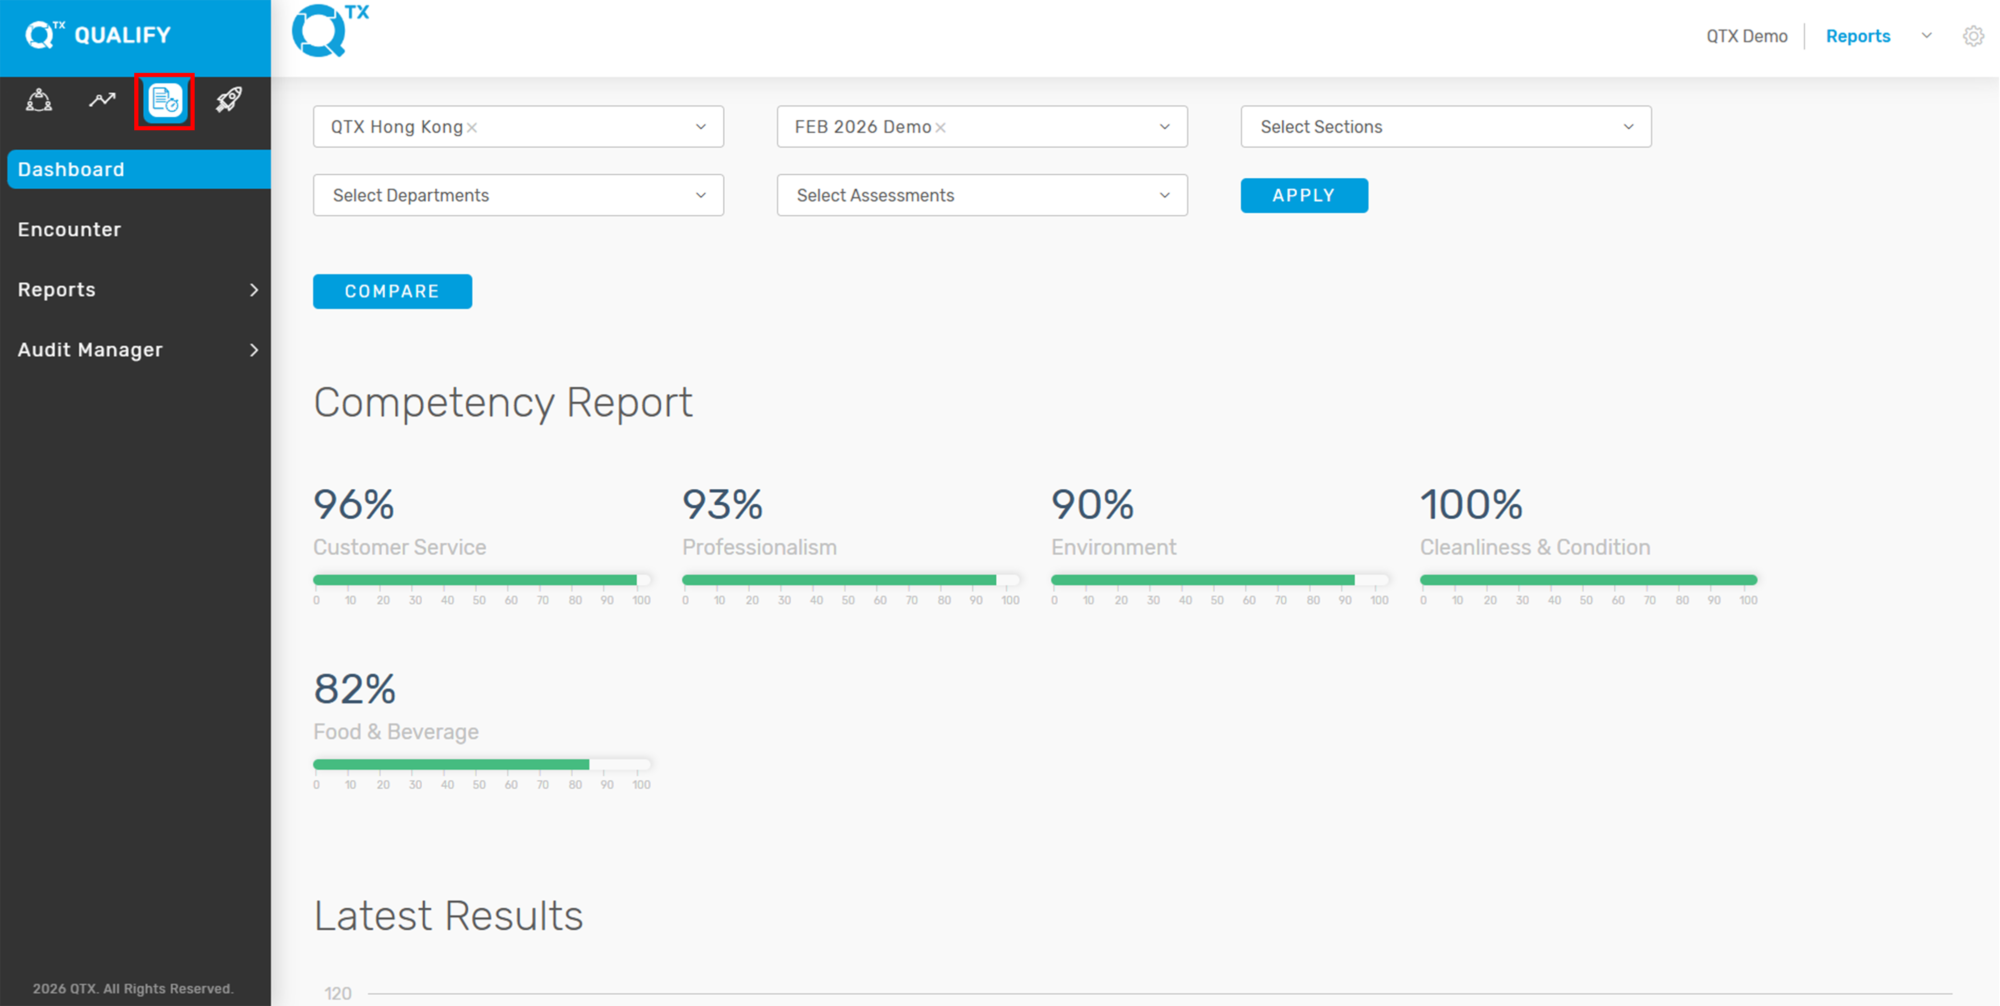
1. On the Dashboard landing page, click the “QUALIFY” button to proceed.


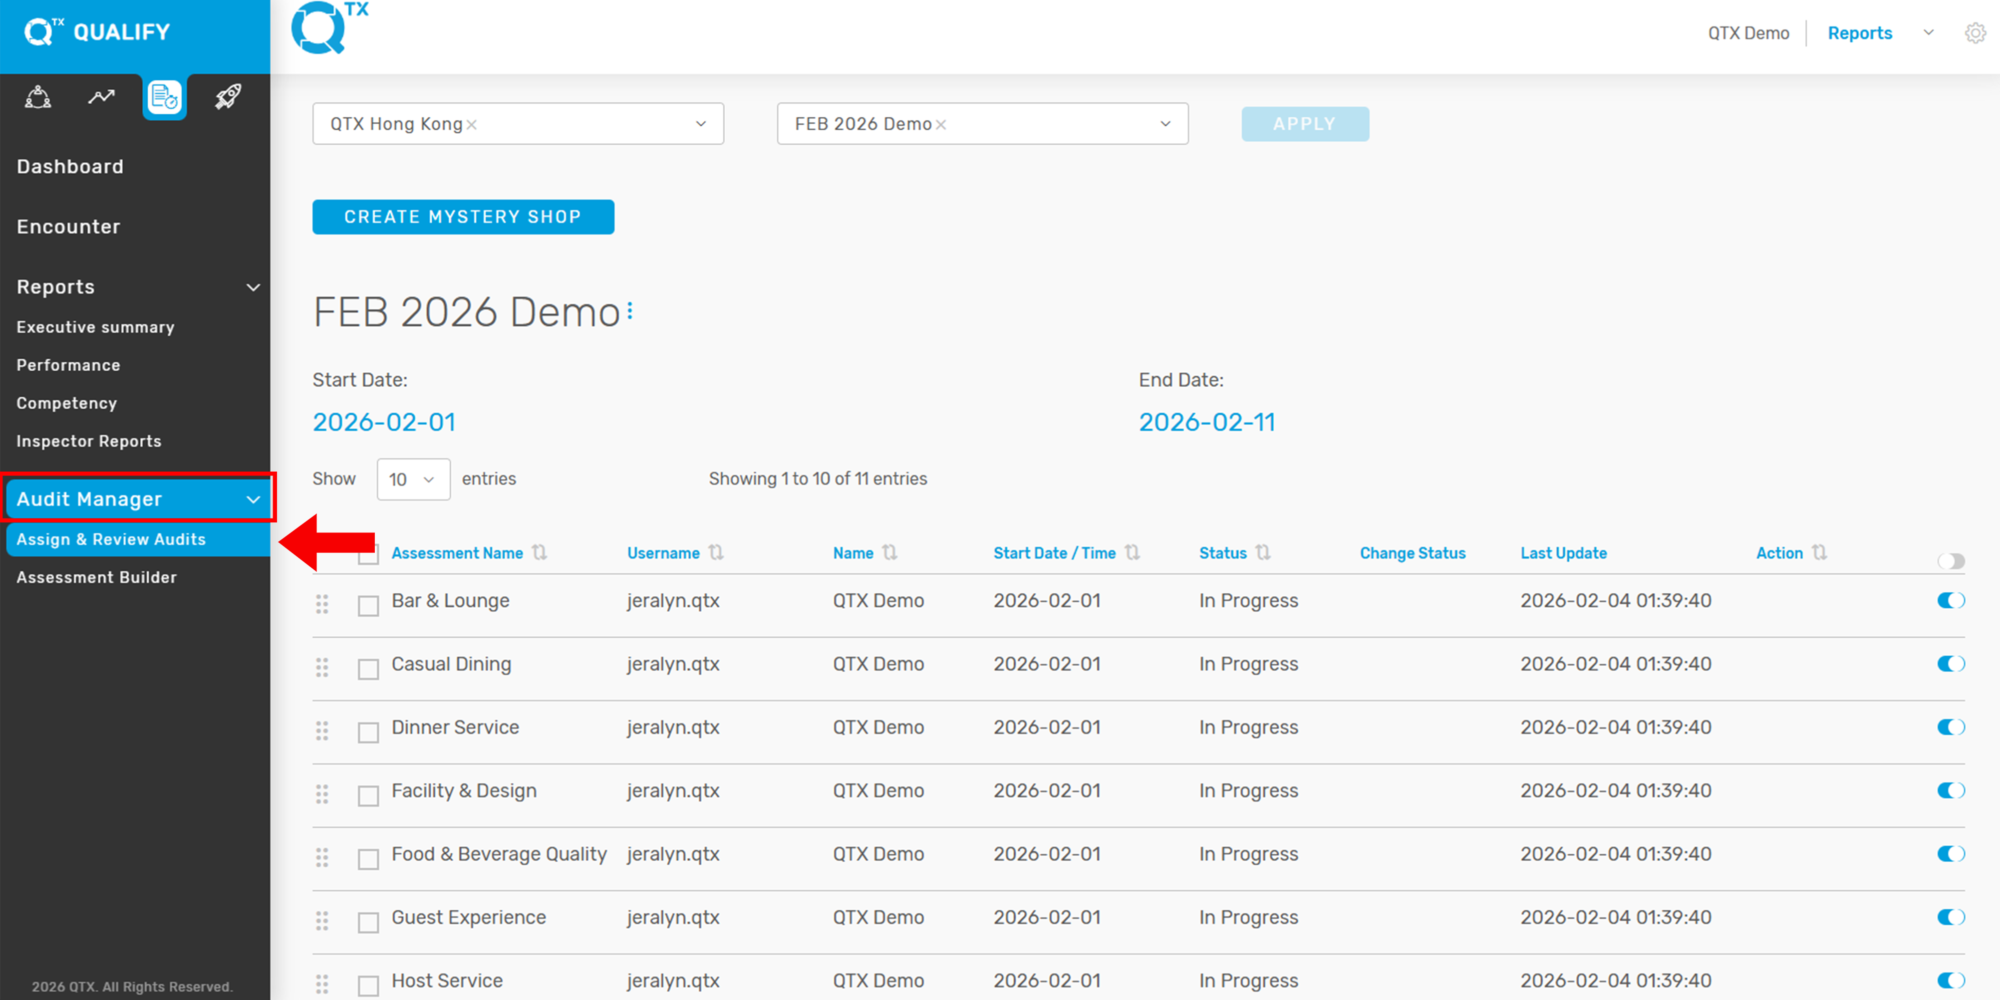
2. Go to the Audit Manager tab and select Assign & Review Audits.


3. Use the filter to select the desired Assessment Period you want to extend, then click Apply.


4. Click the three dots (as shown by the arrow) to reveal the Edit and Delete options.


5. Select Edit, click the Dropdown arrow, update the End Date, and then click Save.


If you need further assistance, please send an email to helpdesk@q-tx.com

Qualify: How to Create or Assign New Mystery Shopper as a Group User

To enable an Inspector to carry out an assessment, a Group User must assign access to the Inspector for the relevant Location, Section, Department, and Assessment. It is also important to specify the assessment period for effective monitoring. There is no limit to the number of mystery shops that can be conducted.


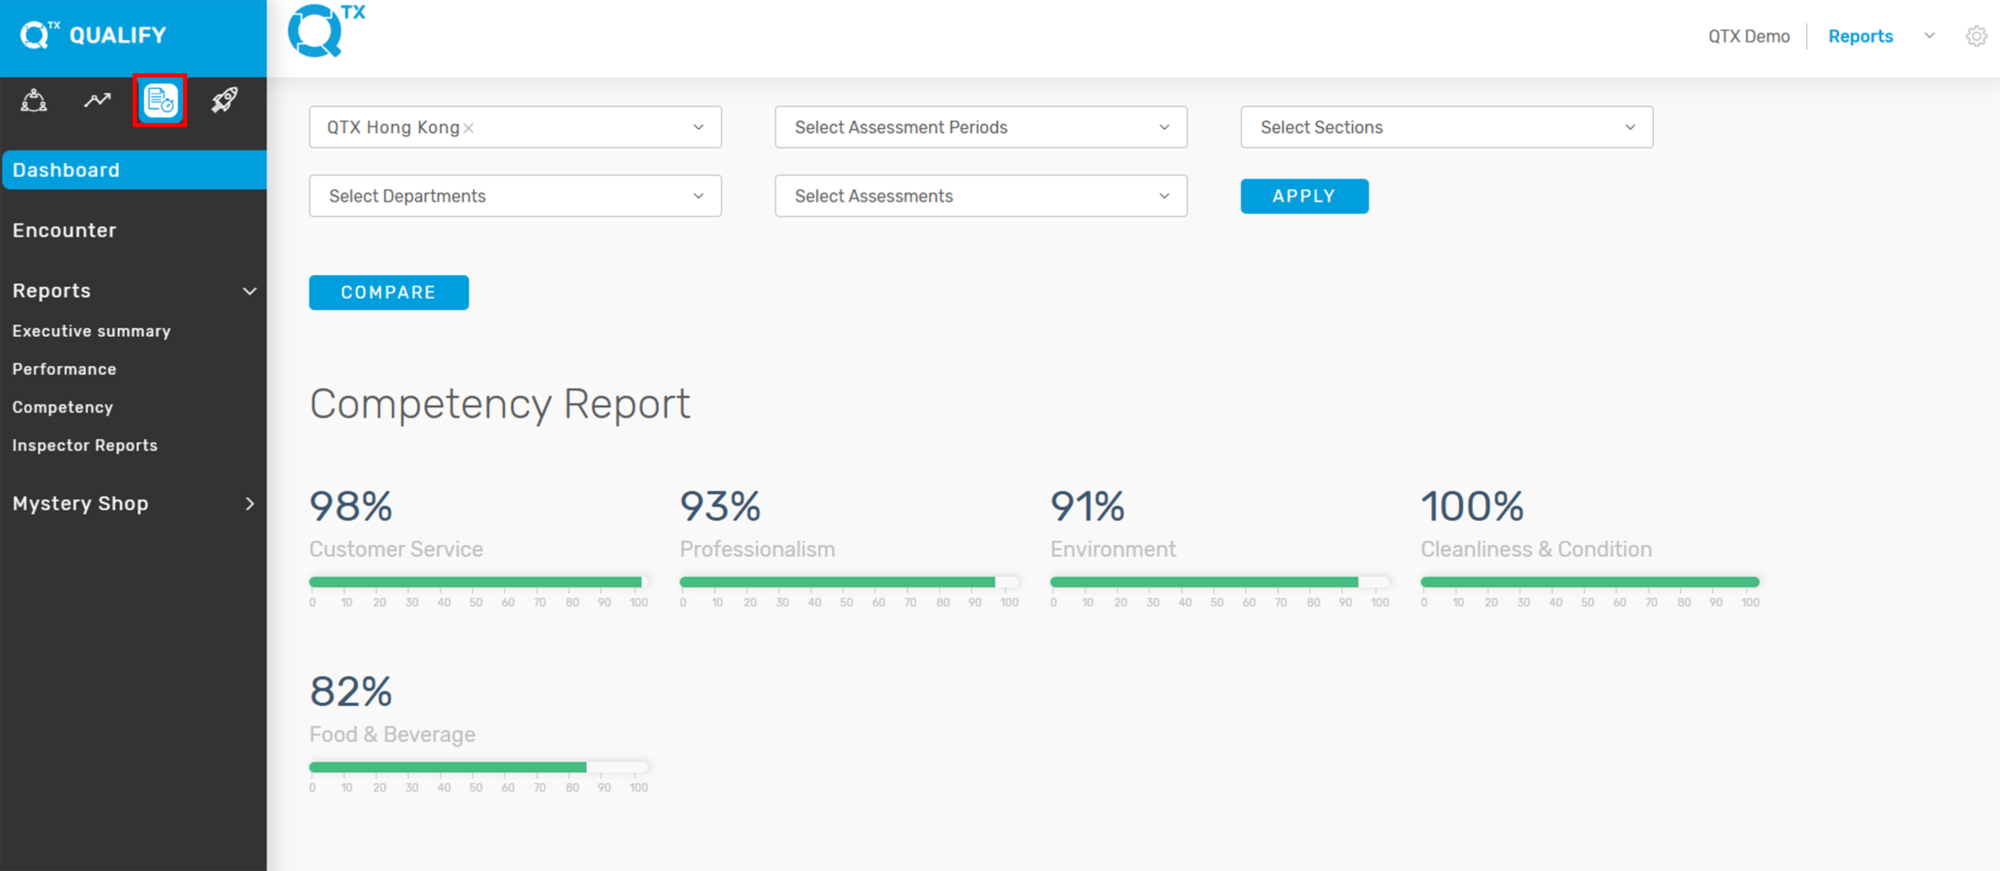
1. On the Dashboard landing page, click the “QUALIFY” button to proceed.


2. Click on “Assign Mystery Shop” under the “Mystery Shop” section, then select the “CREATE MYSTERY SHOP” button to begin.


3. To assign an assessment in the QTX Qualify module, go to Mystery Shop > Assign Mystery Shop, then fill out the form as shown. Select the Location Name and Inspector Name from the dropdown menus. If needed, check the Send Email Notification box to alert the inspector via email. Next, choose or create the Assessment Period.


4. Once all fields are completed, click Assign to finalize the assignment.


If you need further assistance, please send an email to helpdesk@q-tx.com

Qualify: How to Customize Assessments as a Group User

An assessment is a type of questionnaire used to evaluate the quality or nature of a product or person. It plays an important role as these questionnaires serve as the main standard service of each section.


1. On the Dashboard landing page, click the “QUALIFY” button to proceed.


2. Click the “Audit Manager” button, then select “Assessment Builder”. From there, choose the relevant information from the selection lists to apply the appropriate filters for your assessment setup.


3. Click on any Assessment listed to view its details.


4. Let us take Arrival Service as an example to view how the assessment is displayed.


5. Below is the Arrival Service Assessment, which outlines the related Competency (Customer Service) and Subcompetency (Courtesy & Manners). Each Standard within the assessment is rated on a scale from 1 to 3. Additionally, if needed, you can deactivate a specific standard by toggling the blue icon indicated by the arrow.


6. To complete the question setup in the QTX Builder, make sure to fill in the fields indicated by the red arrows and box. Enter a placeholder (brief instruction or sample response) and a question guide (detailed explanation or criteria). Then, from the dropdown marked with the red box, select the appropriate category that aligns with the question content. These fields help organize and guide the assessment effectively. If a new question needs to be inserted—changing the current order of questions—the user must submit a new set of assessments. Our team will handle the updates to ensure that the historical data of previous assessments remains intact.


If you need further assistance, please send an email to helpdesk@q-tx.com

Qualify: How to View Mystery Shop as a Group User

This report is important because it allows users to directly access the Inspector’s feedback and experience. It also enables Group Users to monitor the status of assigned assessments, indicating whether they have been started or completed.


1. On the Dashboard landing page, click the “QUALIFY” button to proceed.
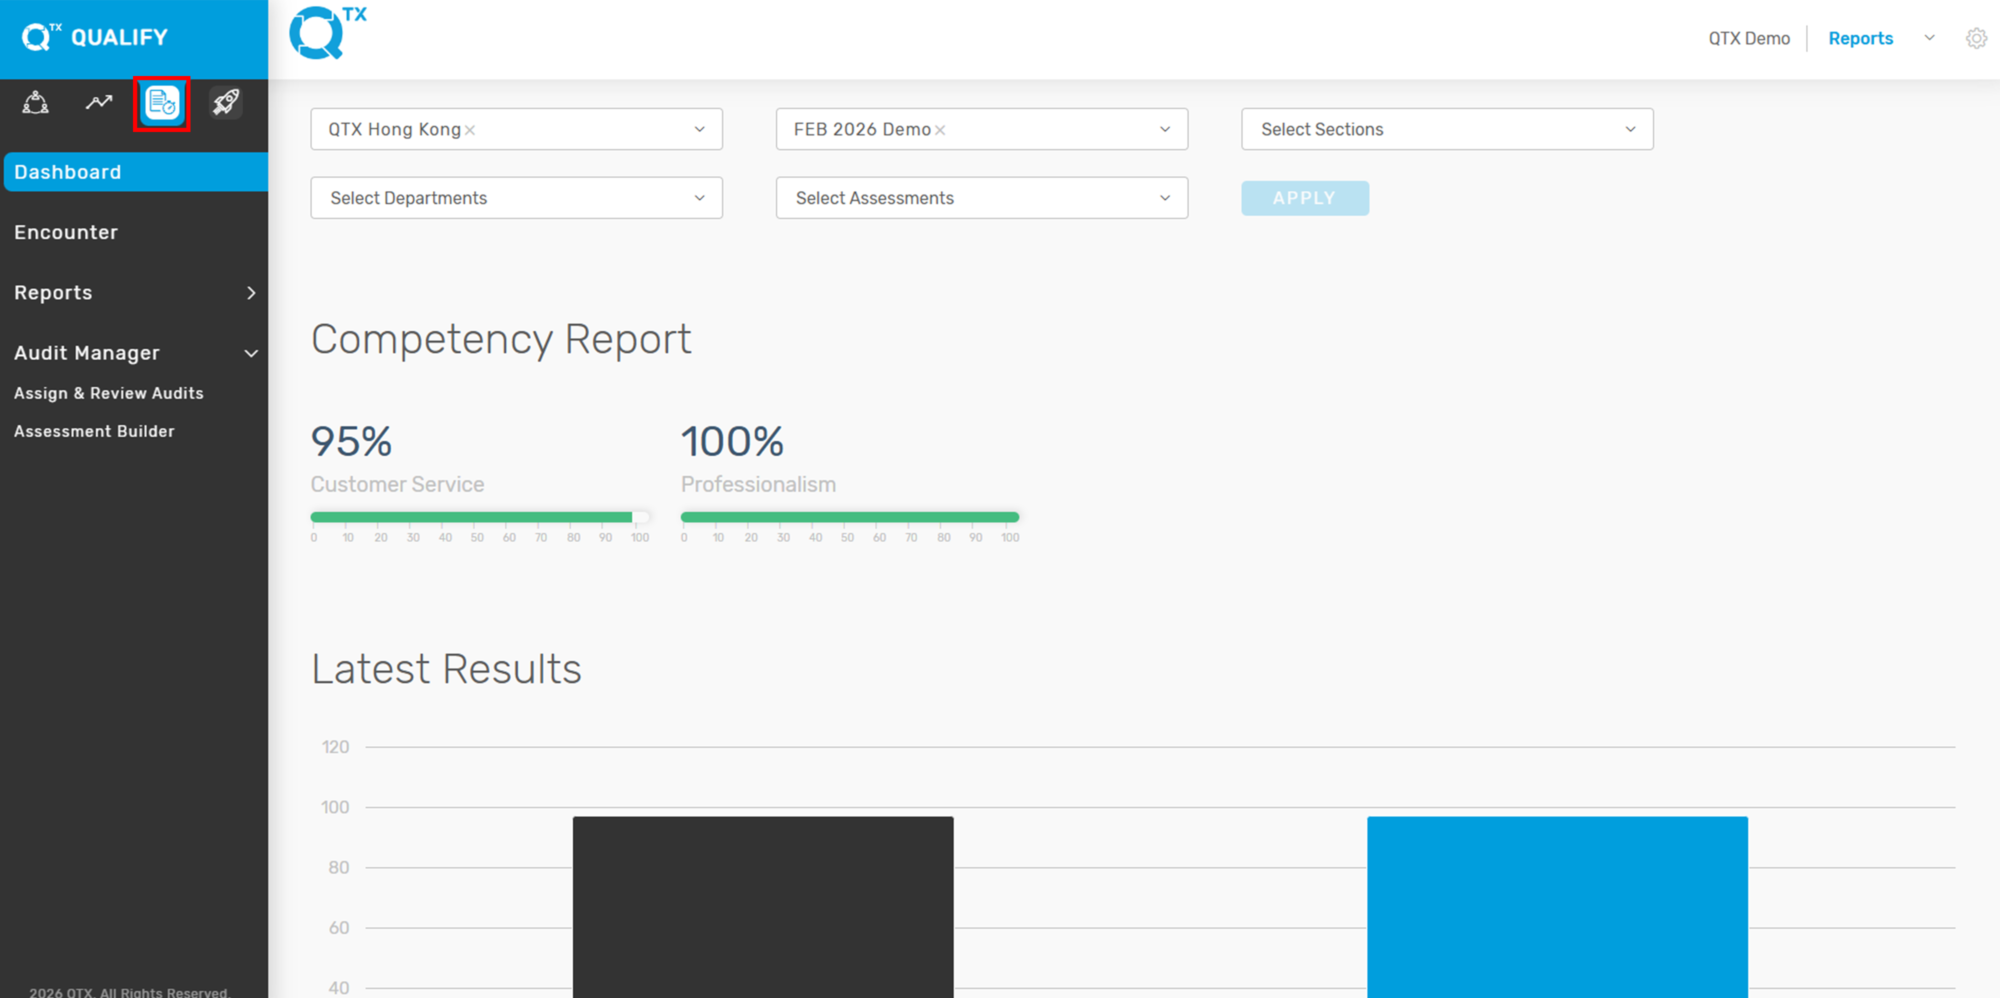


2. Click the “Audit Manager” button, then select “Assign & Review Audits.” After that, choose the appropriate Assessment Period to view the related assignments.


3. In the Assign & Review Audits section, each assessment is displayed in a table format. The columns highlighted in the red boxes show the Status (e.g., Completed) and the Change Status toggle.


4. If the Action toggle is blue, it means the assessment is currently inactive and visible to the Encounter Report.


5. To edit a completed Encounter Report, simply find the report you want on the list, then click the blue In REVIEW button on the right side. This will open the report where you can make your edits.


6. You will notice the Standards in Review button. Click it to view the Encounter Report.


7. The Assessment Report will be displayed. Click “VIEW BY COMPETENCY” to see the full details categorized by competency at the bottom of the report.


8. Below is a sample of an Assessment. In the “Attached Files” section, you can view any supporting attachments such as images or documents, if available.


9. To delete an assessment, simply check the small box next to the assessment you want to remove, then click the “DELETE” button to confirm the action.


If you need further assistance, please send an email to helpdesk@q-tx.com